


Today we’re making something a bit different: a pizza crust made from canned chicken. Yes, you read that right.

Chicken. As the crust. For pizza. It might sound odd, but for those following a carnivore diet, it’s a game changer.
This recipe takes a food many of us miss when cutting out carbs – pizza – and makes it possible to enjoy again.
Now, let’s be clear: this isn’t going to taste exactly like the pizza you remember. But it’s a clever substitute that lets you enjoy similar flavors and the fun of eating with your hands.

The recipe is straightforward and uses just a few ingredients. You don’t need to be a master chef to pull this off.
All you need is some canned chicken, an egg, and a bit of cheese. With these simple ingredients, you can create a base for your pizza that fits within the carnivore diet rules.
👍 Why You’ll Love This Recipe
Easy to Make: This recipe is really simple. Just mix a few ingredients, bake them, and you’ve got yourself a pizza crust. It’s perfect for busy days when you want something tasty but don’t have much time to cook.
Few Ingredients: You only need three main ingredients for this crust – canned chicken, egg, and cheese. This means less shopping and less fuss in the kitchen.
Low In Carbs: Unlike regular pizza crusts made from flour, this chicken based crust is very low in carbs.
This makes it a good choice for people watching their carb intake. It’s a way to satisfy pizza cravings without the usual carb overload.
Gluten Free Option: For those who can’t eat gluten or choose not to, this crust is naturally gluten free. You don’t need to buy special gluten free flours – perfect!
✨ Recipe Ingredients
To make this tasty canned chicken pizza crust you will need:
- 1 Egg (large)
- 10oz (280g) Canned Chicken (I recommend this one – amazon link) . You can also use cooked / baked chicken breasts.
- 1oz (30g) Parmesan Cheese (grated)
Free Cookbook
👨🍳 How To Make
Easily make the perfect canned chicken keto pizza crust. Follow these steps:
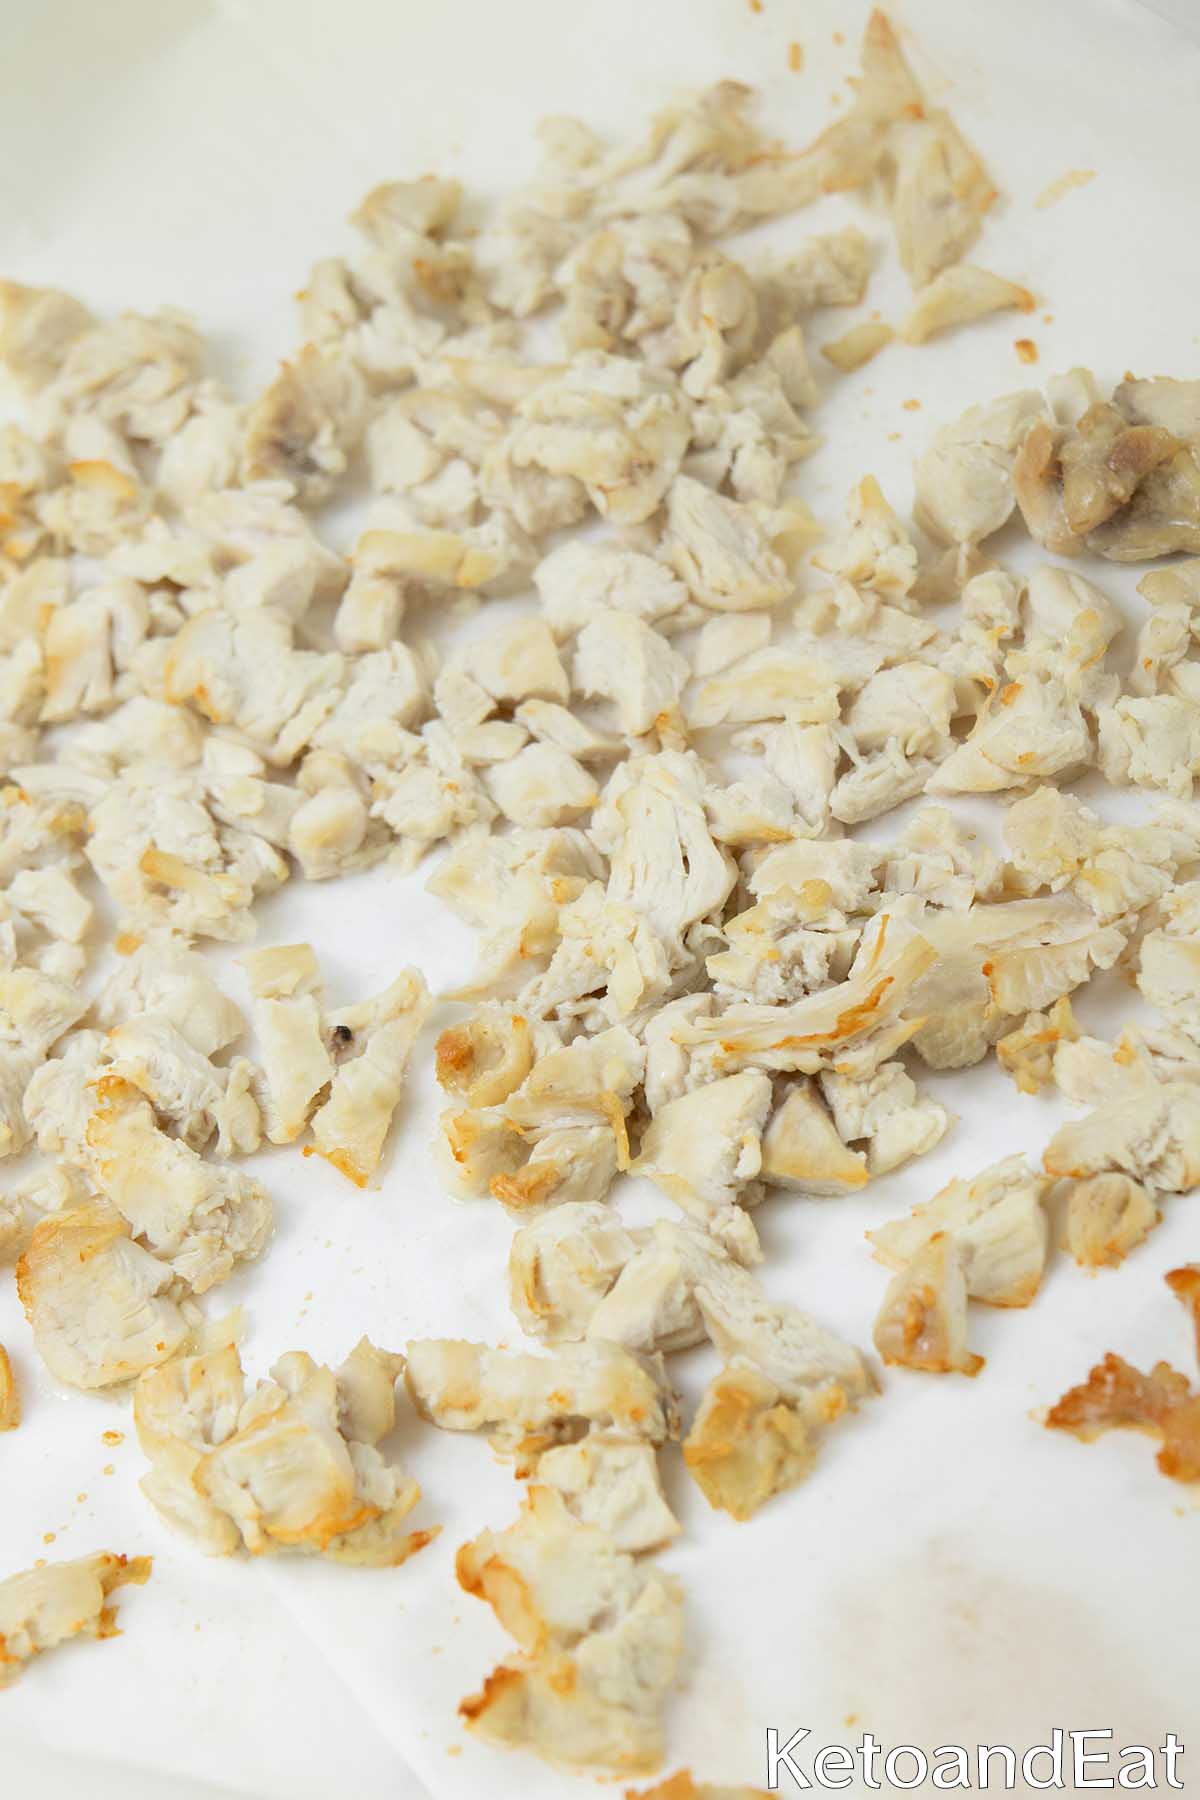
Step 1
Drain the canned chicken, or pat dry the cooked chicken. Shred it, and then spread on a baking sheet lined with parchment paper.
Step 2
Bake at 350°F (preheat the oven first) for about 10 minutes to dry out the chicken.
Step 3
Remove from the oven. Add the chicken to a bowl. Add the egg and cheese and mix well.
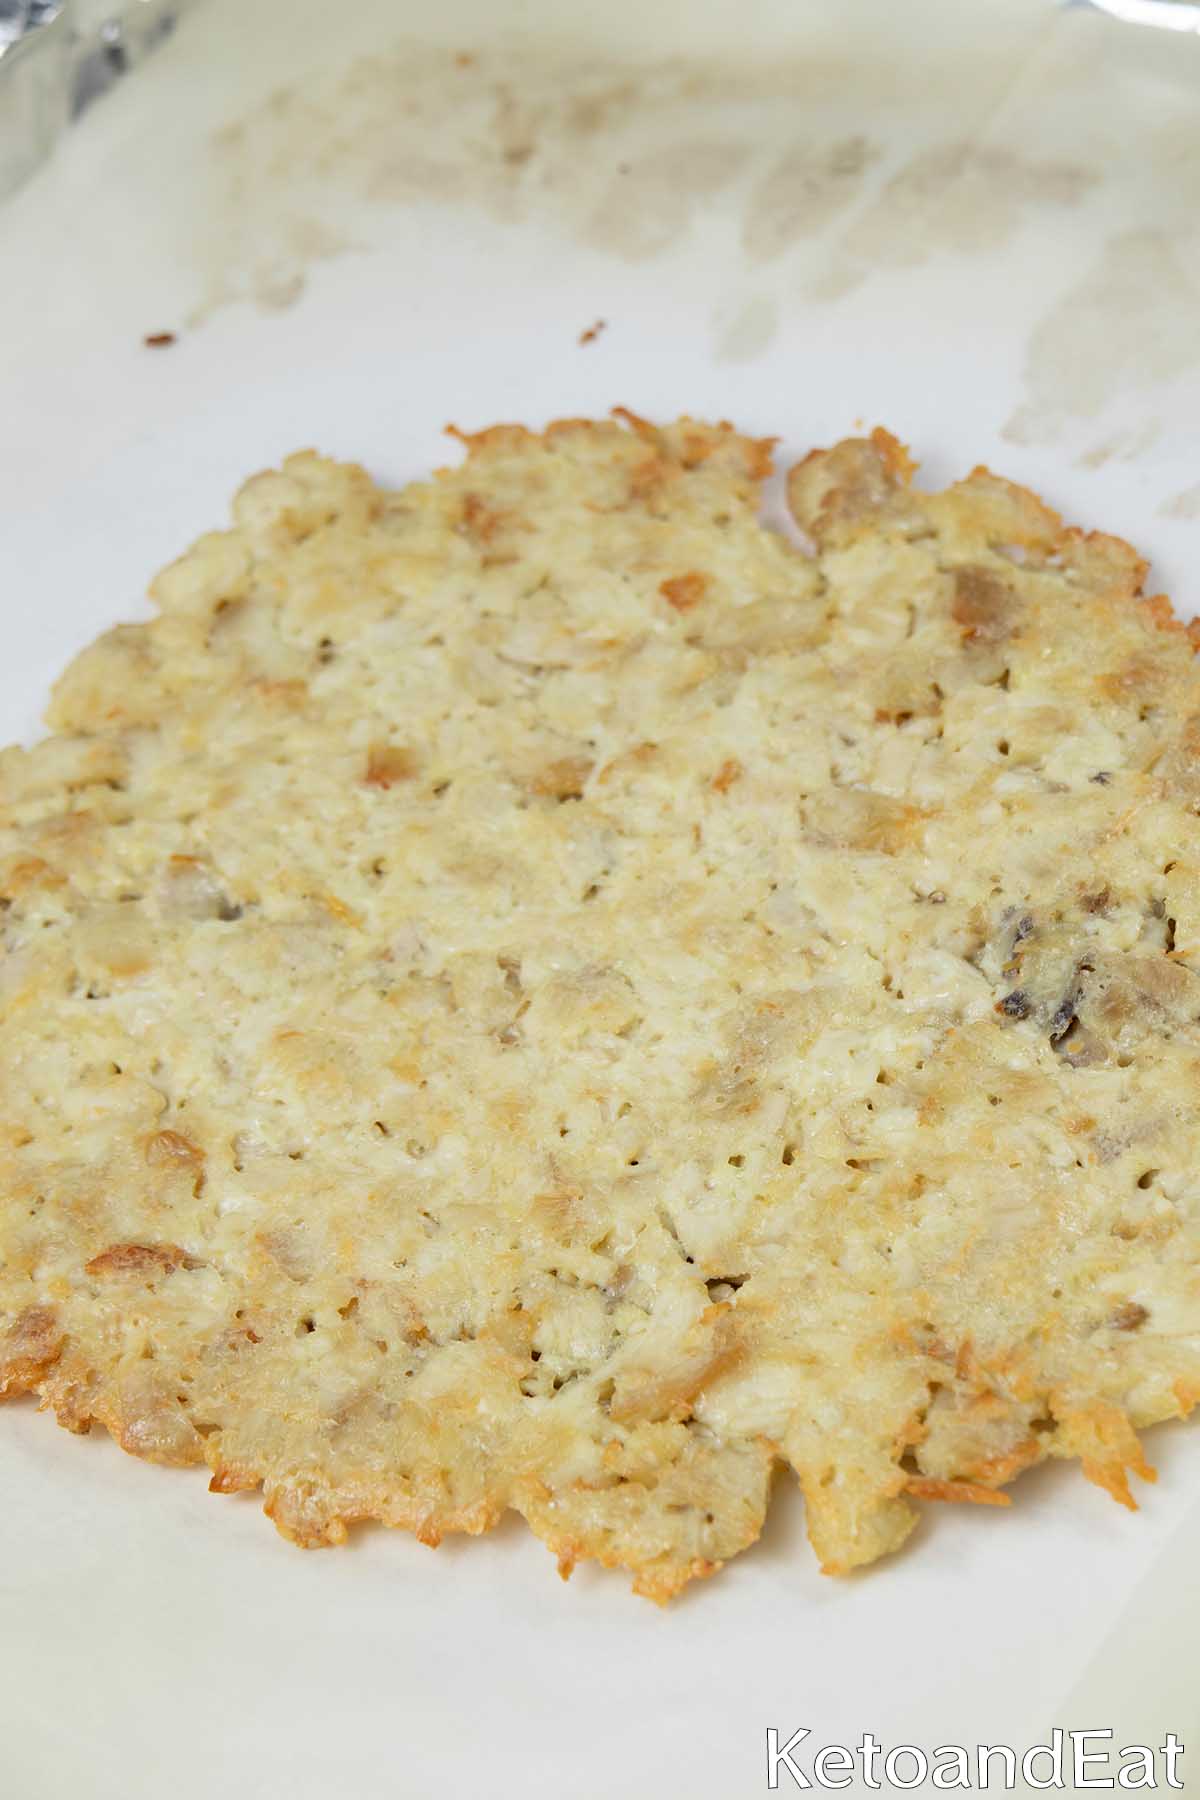
Step 4
Pour the mixture onto the lined baking sheet, spread and shape into a pizza. Bake the crust for about 10 minutes at 400F (I recommend flipping it after about 8 minutes).
Step 5
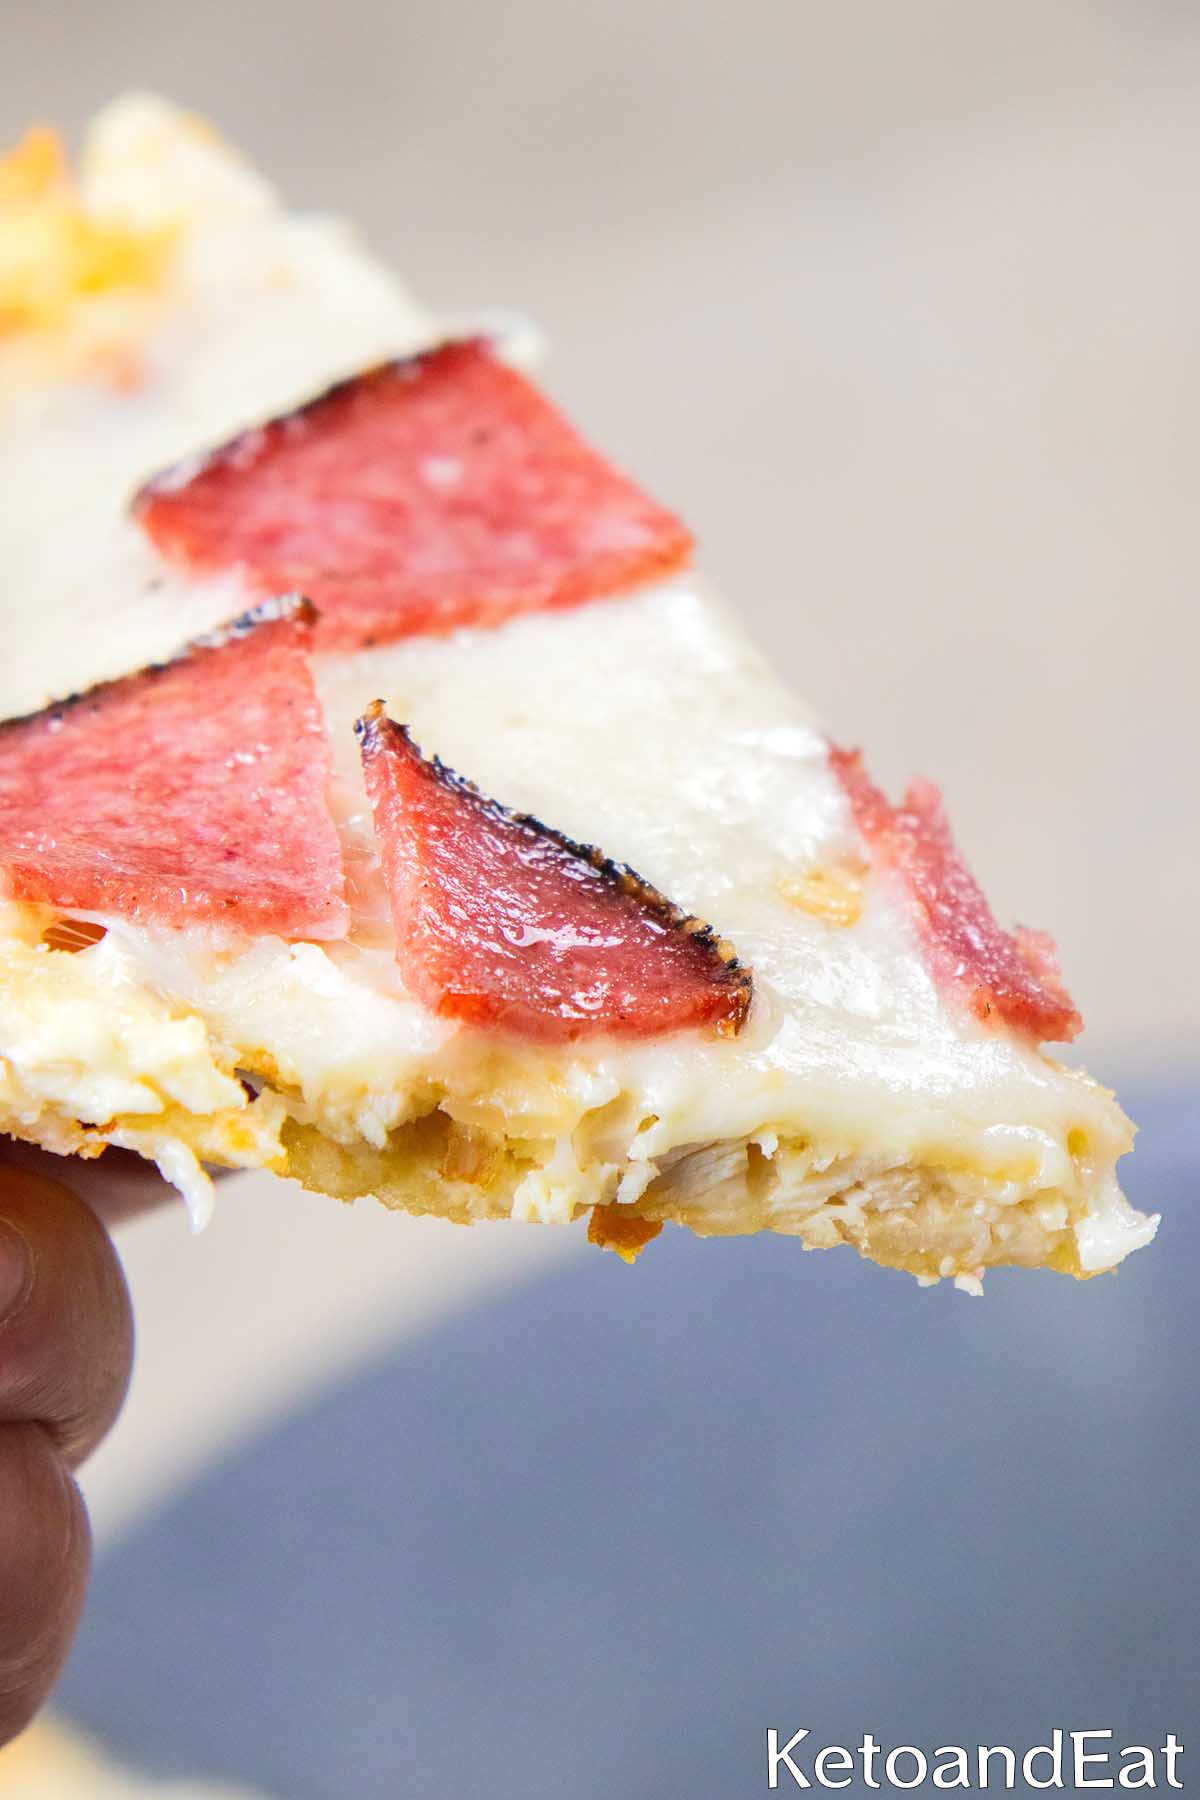
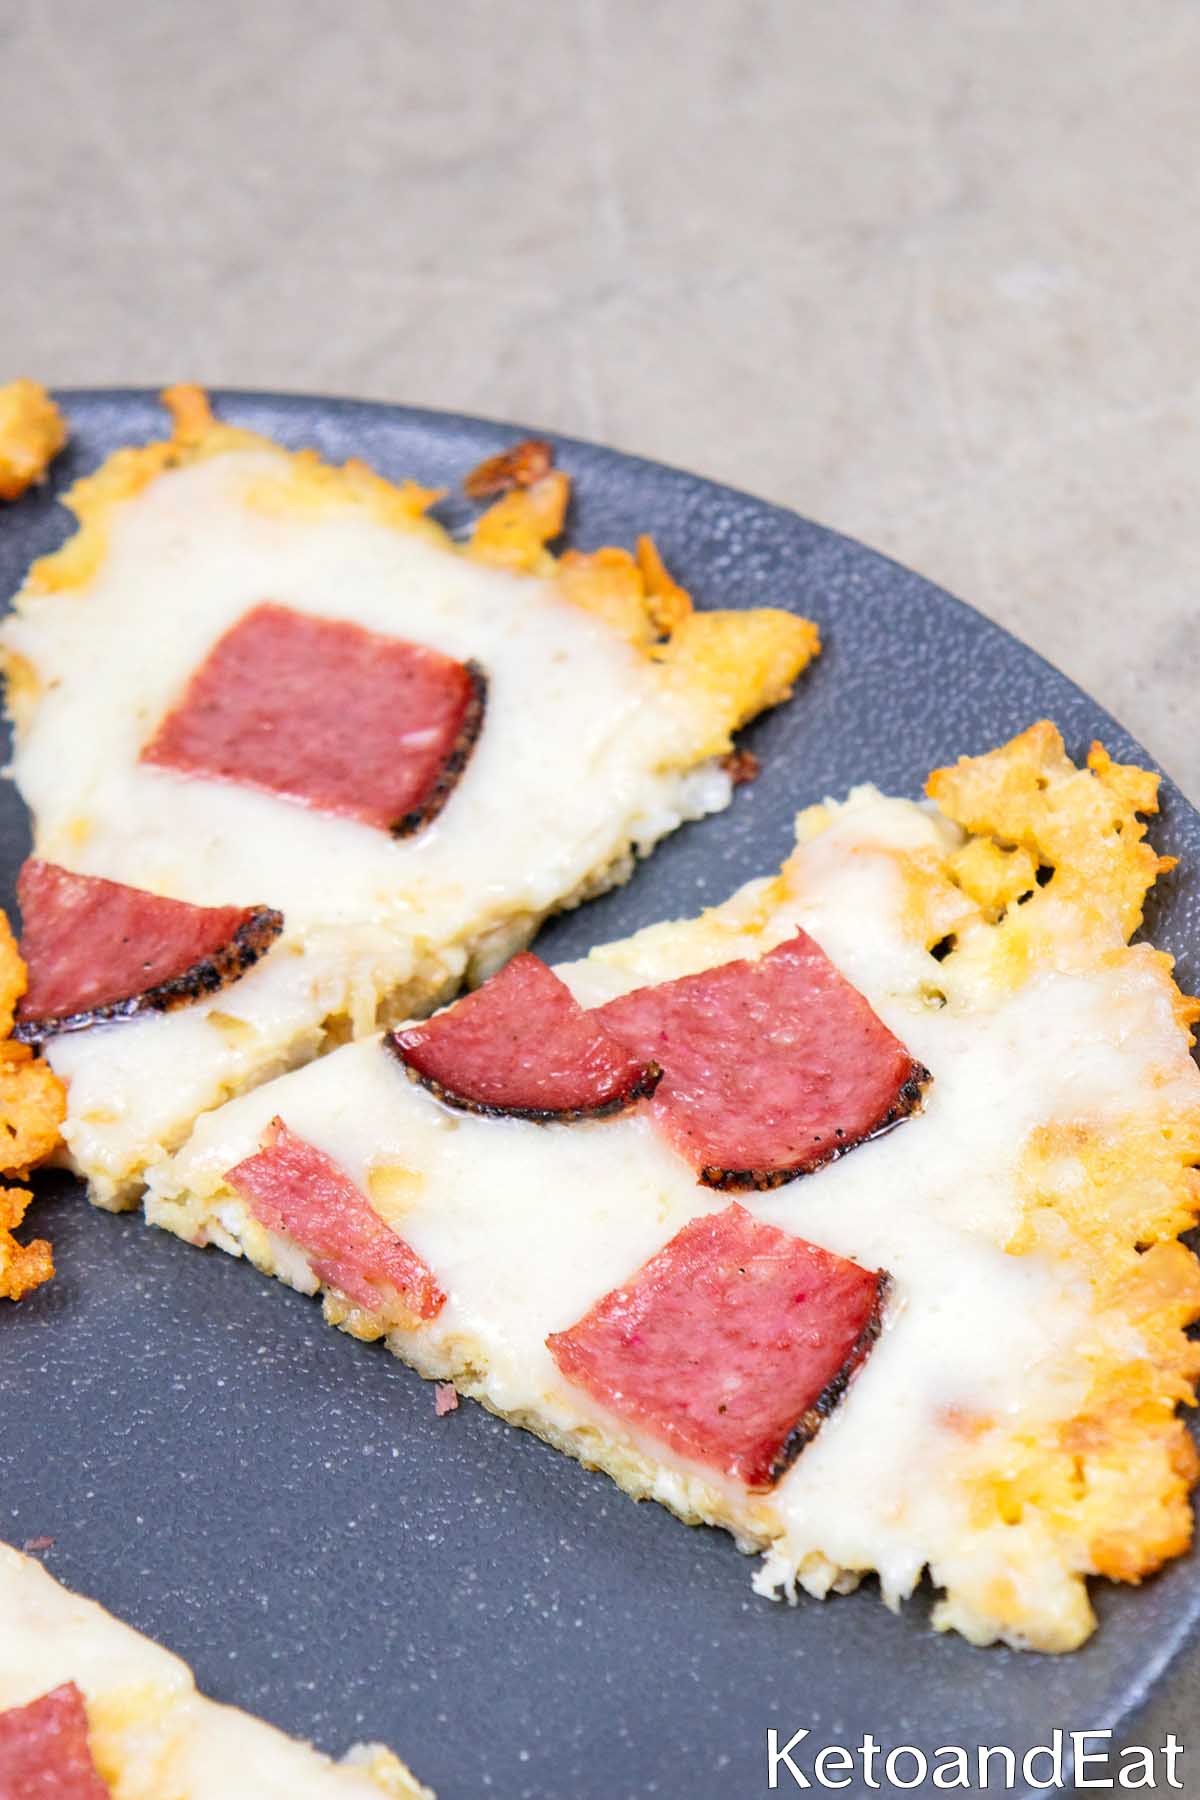
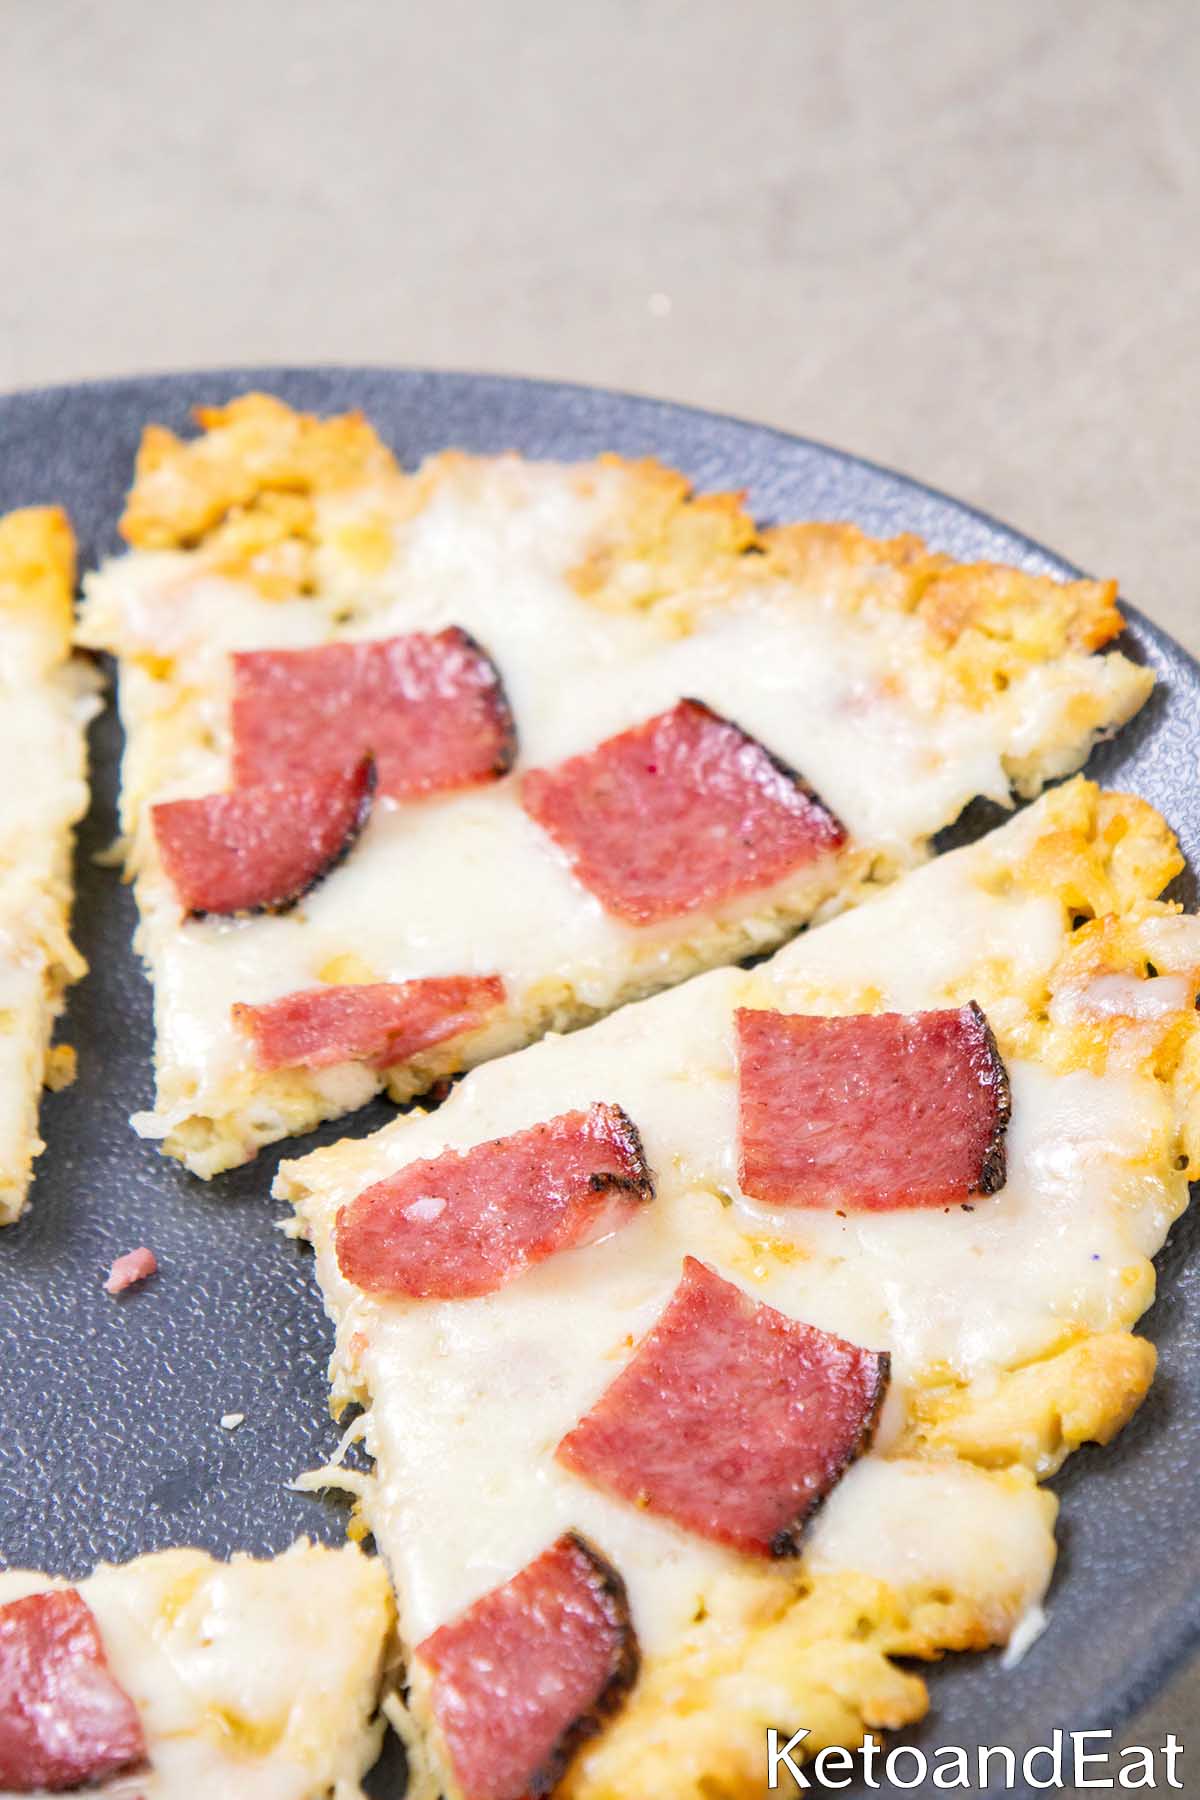
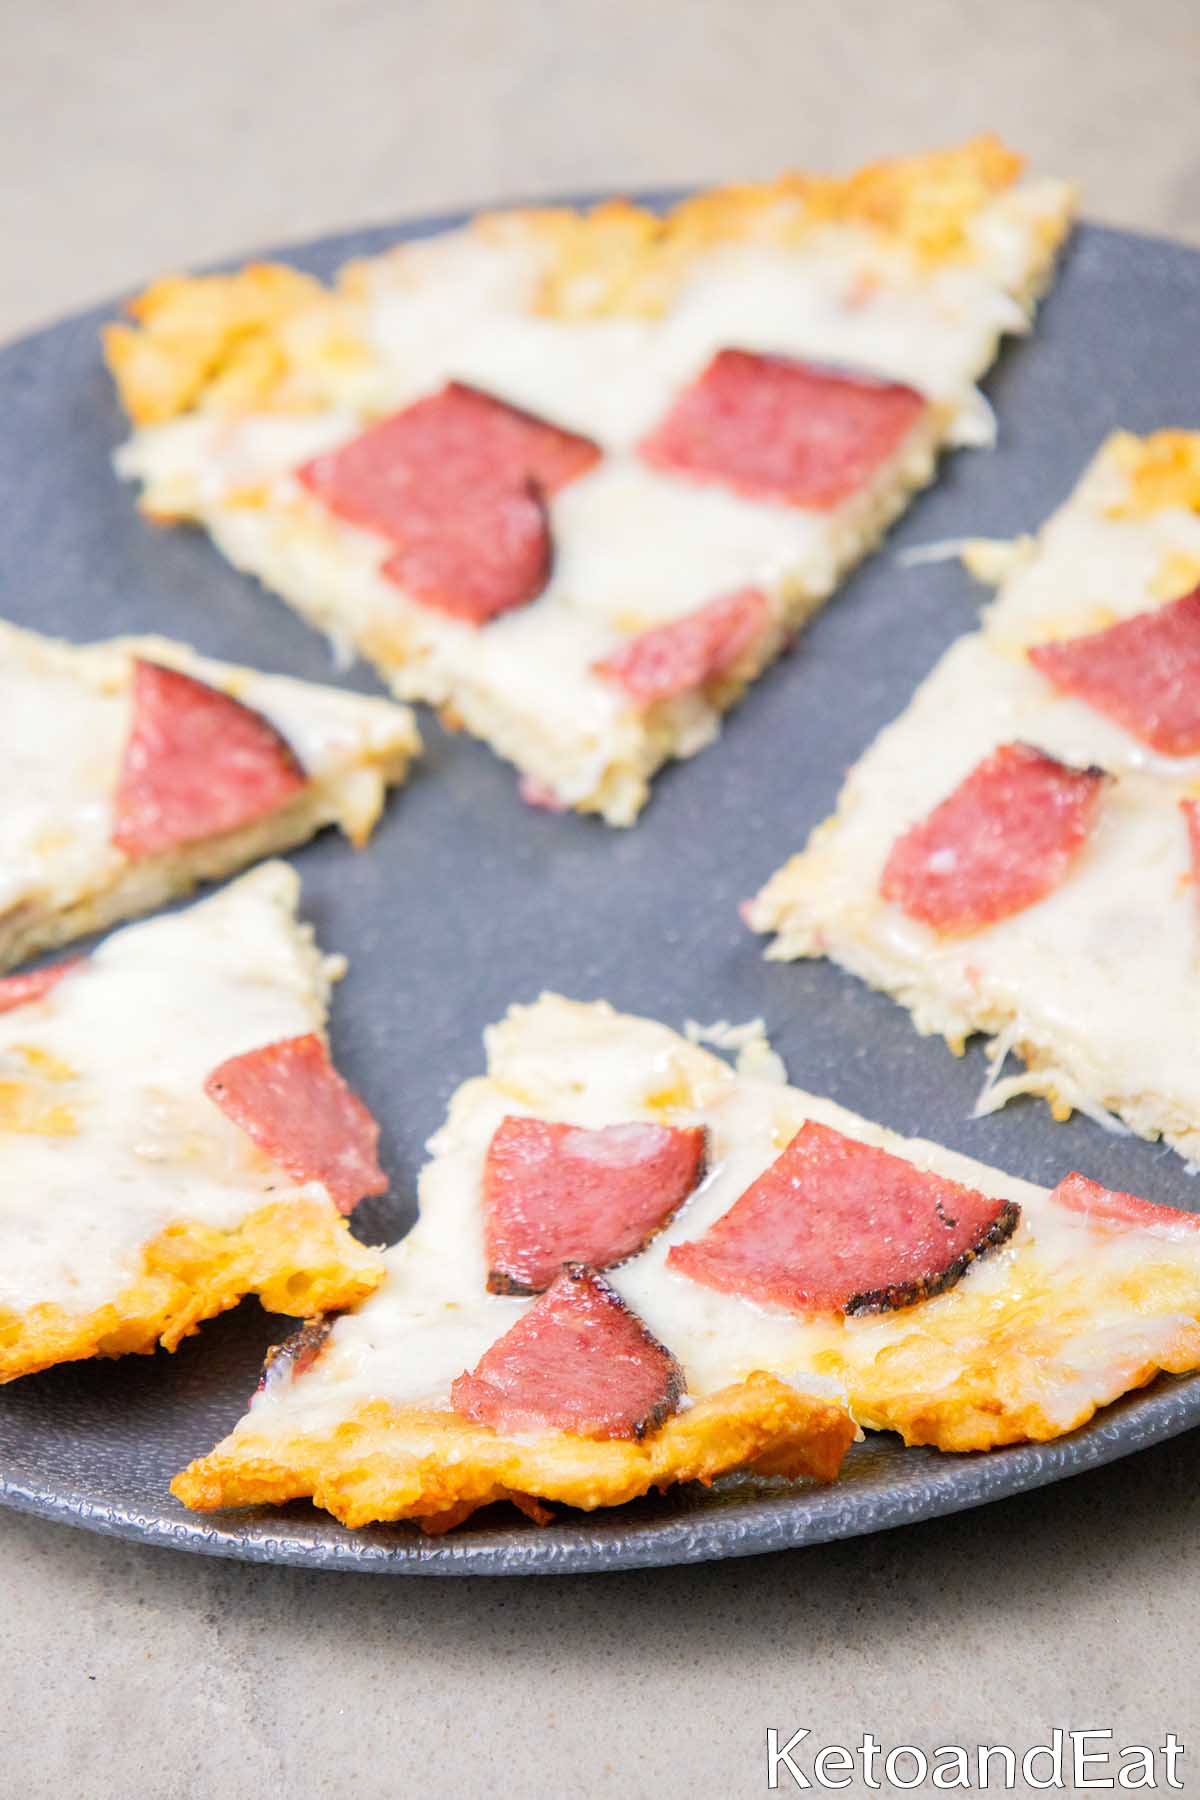
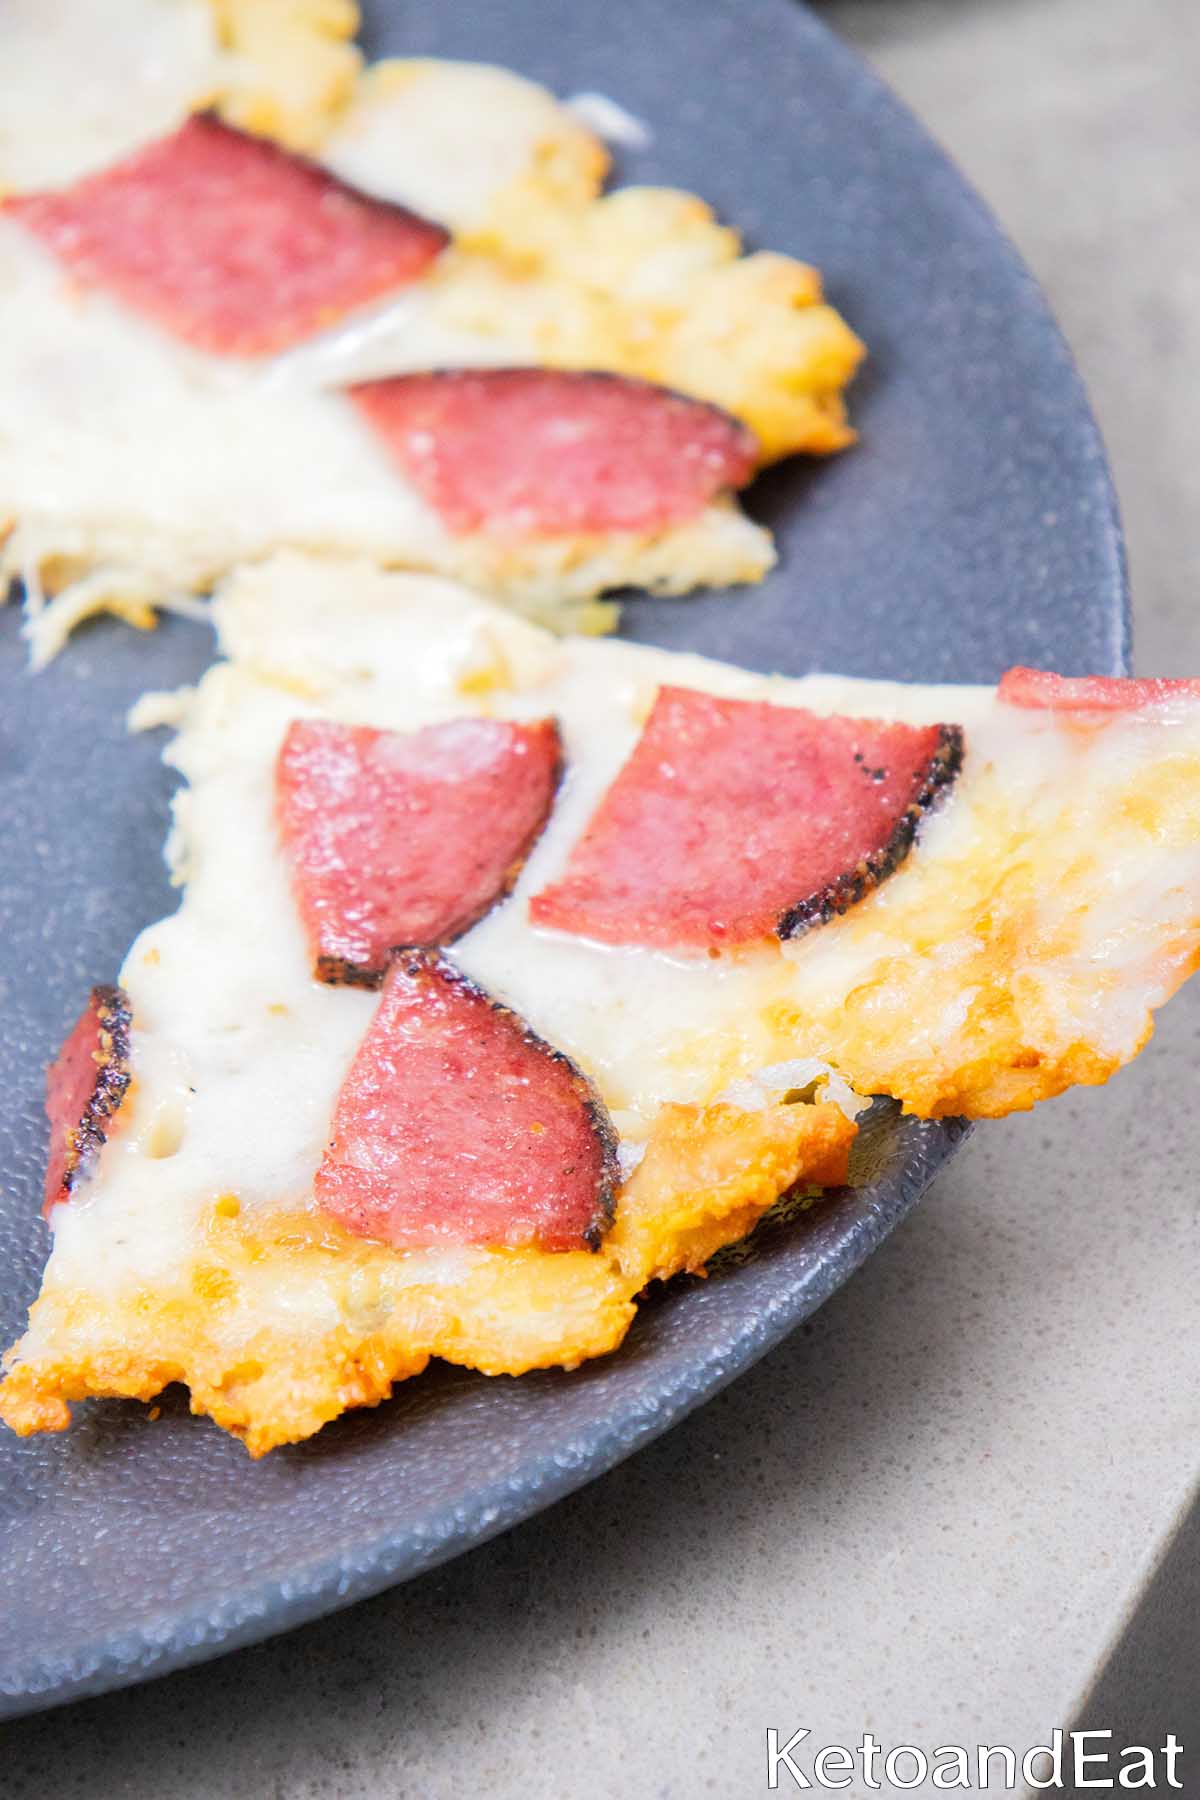
Remove the crust from the oven. Add your favorite toppings (I added pepperoni and mozzarella) and bake for 5-6 more minutes. I also recommend spreading my alfredo sauce. Enjoy!

💡Tips
1. Draining the Chicken
When you open the canned chicken, it’s important to drain it really well. The excess liquid can make your crust soggy.
Here’s a good method: open the can and use the lid to press down on the chicken while tilting the can over the sink.
This squeezes out most of the liquid. Then, dump the chicken onto a clean kitchen towel or several layers of paper towels.
Wrap it up and give it a gentle squeeze to remove even more moisture. The drier your chicken is at the start, the better your crust will turn out.
If you skip this step, you might end up with a wet, floppy crust that falls apart when you try to pick it up. Definitely not what we are looking for.
2. The Cheese
If you can, buy a block of Parmesan and grate it yourself just before using. The fresher, the better.
Also, you can expiriemnt with other hard, aged cheeses. A mix of Parmesan and aged cheddar can add depth to the flavor.
Just make sure whatever cheese you use is very low in moisture. Wet cheeses can make the crust too soft.
3. Let it Cool
After your pizza comes out of the oven, let it rest for about 5 minutes. This resting period allows the cheese to set slightly, making it less likely to slide off when you cut the pizza.
It also allows the crust to firm up a bit more, making it easier to handle. If you cut it too soon, the crust might be too soft nd fall apart.
You’ll Love These Recipes Too
Check out these carnivore recipes too:
Frequently Asked Questions
Can I make this crust ahead of time?
Yes, you can prepare the crust ahead of time. Make it up to the first baking stage, then cool and store in the fridge. When you’re ready to use it, add toppings and complete the final baking step.
Can I freeze this pizza crust?
Yes, you can freeze the crust after the first baking stage. Wrap it well and freeze for up to a month. Thaw in the fridge before adding toppings and final baking.

Canned Chicken Pizza Crust
Print RecipeIngredients
- 1 Egg large
- 10 oz Canned Chicken (I recommend this one – amazon link) . You can also use cooked / baked chicken breasts.
- 1 oz 30g Parmesan Cheese (grated)
Instructions
- Drain the canned chicken, or pat dry the cooked chicken. Shred it, and then spread on a baking sheet lined with parchment paper.
- Bake at 350°F (preheat the oven first) for about 10 minutes to dry out the chicken.
- Remove from the oven. Add the chicken to a bowl. Add the egg and cheese and mix well.
- Pour the mixture onto the lined baking sheet, spread and shape into a pizza. Bake the crust for about 10 minutes at 400F (I recommend flipping it after about 8 minutes).
- Remove the crust from the oven. Add your favorite toppings (I added pepperoni and mozzarella) and bake for 5-6 more minutes. I also recommend spreading my alfredo sauce. Enjoy!
Can I substitute vegan mozzarella for the grated parmesan? I’m making this for a friend who is allergic to dairy.
It has the same melt and stretch as real cheese
Yes, but it won’t taste as good
Thank you, this has been a great recipe to be about to enjoy pizza again while being low carb. It’s delicious!!
Made this recipe tonight in the oven can’t wait to try it
I spread Alfredo sauce on the pizza before adding my toppings. I thought the taste was delicious. But I don’t think I let my oven get all the way to 450° before putting the pizza back in the oven because the crust didn’t get crispy. Next time I will bake the crust longer before adding my toppings.
This was indeed a delicious recipe. I was wondering how long will it keep in the fridge?